
Applications
Printing applications. Built around what you make.
From printed ID lanyards to full jersey panels, the right setup starts with the product you want to make. Explore the printing, transfer and finishing stages together, then compare the machines and materials for your application.
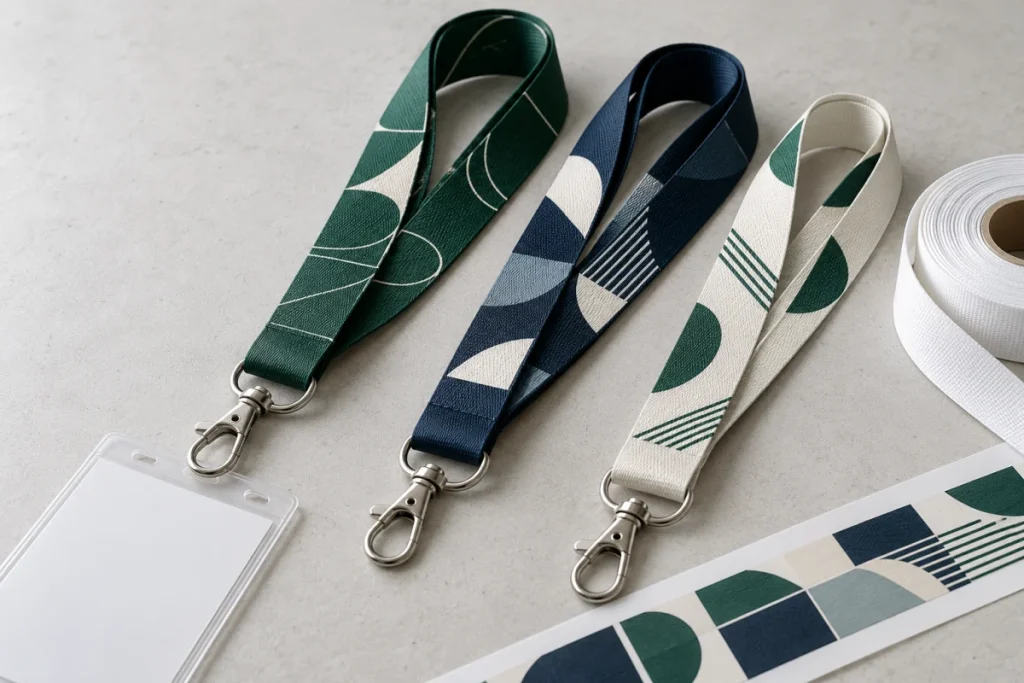
Lanyards are a whole production line.
Create printed straps for staff IDs, events, schools, colleges and promotional use. Plan the artwork, compatible polyester ribbon, transfer printing, heat pressing and final attachment of hooks or badge fittings.
Compare manual and automatic lanyard presses around ribbon handling, working area, loading and operator workflow. Match the finishing method to the ribbon and hook style you will actually supply.
More ways to put print to work.
Build around the finished item and the process it needs. A heat press transfers an image; it does not replace the printer, transfer material or screen-printing process that creates that image.
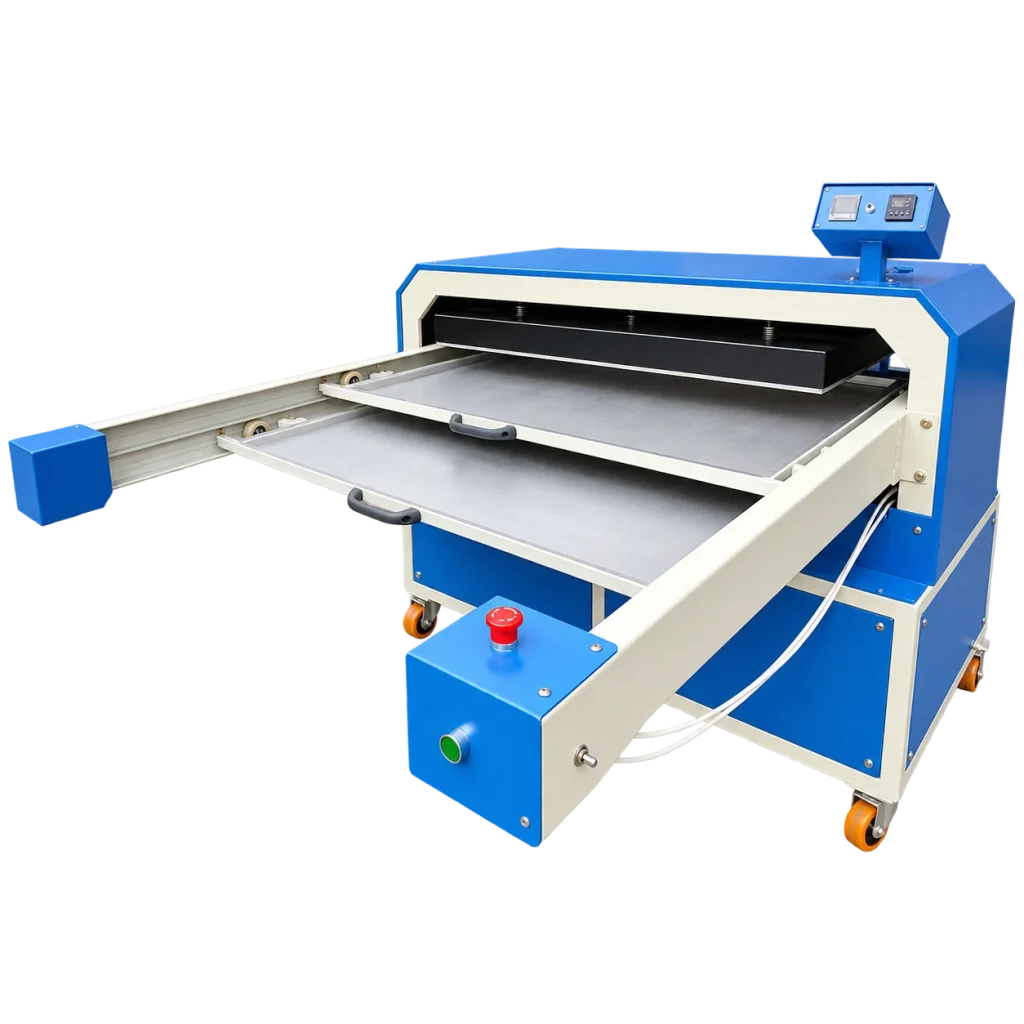
Full jersey & garment panels
Large-format transfer work for compatible polyester jersey panels, sportswear and fabric pieces before assembly. Measure the complete panel and allow for positioning on the platen.
- Confirm usable platen area, loading clearance and tray travel.
- Use a sample panel to check colour, placement and finish.
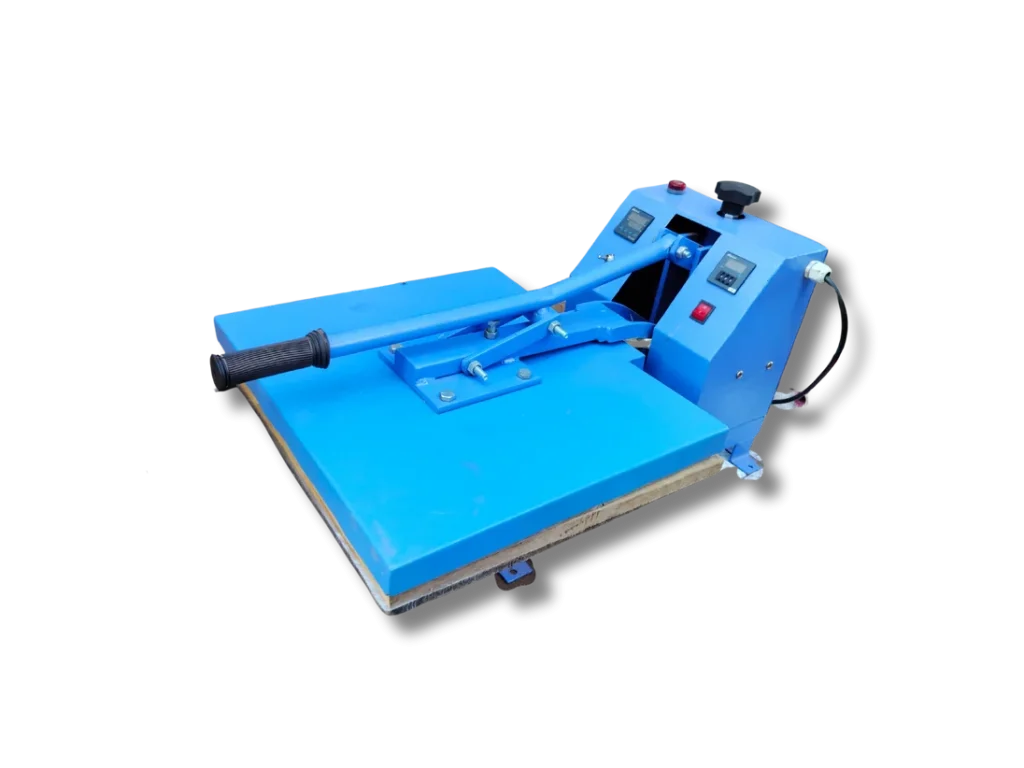
T-shirts & garment transfers
Apply compatible transfers to T-shirts, uniforms and promotional garments with a flat heat press. The transfer process depends on the fabric and artwork, so choose the material system before the machine.
- Match the complete design to the flat working area.
- Confirm transfer compatibility for polyester, cotton or blends.
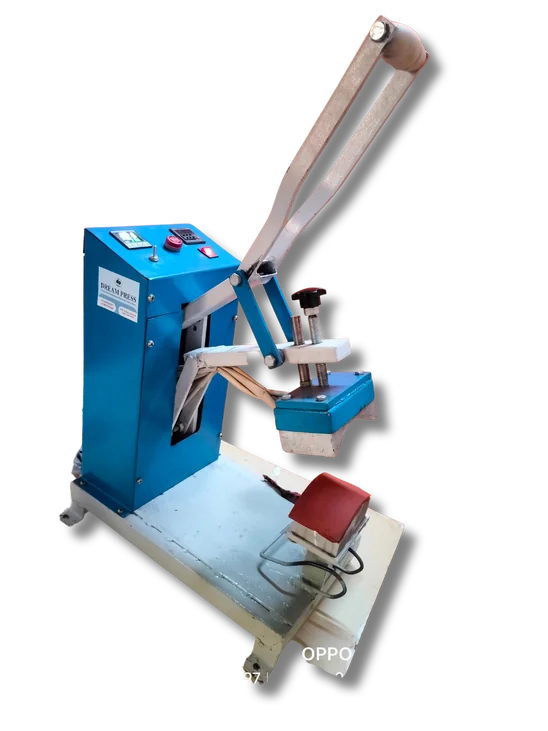
Caps & headwear
Place compatible transfers on suitable cap fronts using a dedicated curved pressing format. The cap profile, seam position and supplied platen affect how well the transfer contacts the surface.
- Test the actual cap shape and transfer size.
- Confirm which cap platens and accessories are included.

Logos, labels & small placements
Press small compatible transfers onto garment labels, branding areas and selected accessories. A compact working format can help with placement where a full flat platen is awkward.
- Check access around seams, buttons and raised sections.
- Match the transfer dimensions to the supplied platen.

Screen-printed garments
Build a workflow for repeated garment artwork using screens and compatible inks. Compare the number of colours and stations alongside screen preparation, garment handling and curing requirements.
- Plan screens and registration for your artwork.
- Choose a curing method specified for the ink system.

Curing printed textiles
Plan the heat stage for screen-printed fabric using the requirements of the ink and material. Confirm the working width, dwell arrangement and power supply before fitting a curing machine into your line.
- Ask for a trial with the intended ink and substrate.
- Check floor space, ventilation and electrical requirements.
Connect the stages.
A reliable setup includes the equipment before and after the press. Use these stages to plan an equipment list and avoid choosing a machine in isolation.
01 / Create the transfer
Choose a compatible printer →, ink and paper combination for the intended width and material. Epson models have different original uses; confirm the supplied configuration.
02 / Press the image
Compare heat presses → or lanyard presses → around the complete transfer area and loading process. Validate settings with sample material.
03 / Finish the product
For lanyards, plan cutting, suitable sealing or stitching and hook attachment. Explore the ultrasonic sealing machine → where the material and joint suit the process.
04 / Support the line
Plan paper, ink, blank ribbon and hooks →. If the selected machine requires compressed air, match the compressor → to its actual air demand.
Bring a sample. Build a better shortlist.
Tell us what you make.
Share the finished item, substrate, print dimensions, order mix and planned production volume. For lanyards, include ribbon width, single- or double-sided artwork and the required hook or badge fitting. For garments, show the whole print or panel.
Confirm the full installation.
Discuss usable print area, operator handling, power, compressed air where required and working space. Request the included accessories, training, warranty, current availability and delivered quotation for the selected setup.
Material compatibility and finished results depend on the complete process. Request a demonstration or sample test with your intended substrate and transfer system. Product specifications are listed on the individual product pages.